This page documents our visit to the
Lywood Tunnel and
Ardingly Line trackbed
on 5th July 2009.
Agents present:
ghost, dumpman, holmbush, skyframe & TheHallGuy
So, here we are finally! Regular readers may remember that we originally shelved our plans to go to Ardingly and the Lywood tunnel a few months ago following a period of some problems that your intrepid team were facing and it gave us a welcome chance to get some of our millions of photos on their respective pages on the website and sort out and improve on the website.
That was then, this is now. After a refreshing break, we were ready to climb back into the saddle (well, some of us were. KaptainKlutz was sadly not with us and we're looking forward to ragging him about what he missed!) We all met up in our usual place and stood nattering inanely and scoffing hot chocolate whilst waiting for some more stragglers to show up. Once all there, we set off for Horstead Keynes station on the Bluebell Railway, where we were due to meet a new team member known only to us as TheHallGuy. After a lot of frantic text messages, we spotted our new agent and set off on our little adventure.
Lead by the mysterious and enigmatic Dumpman, we would start off along a short stretch with with an occupational bridge, then find the Lywood tunnel and the remains of the viaduct, which (we found) is adjacent to where the Bluebell Railway currently ends.
Here is an account of our trek, complete with pictures and video footage where possible.
READ ON....
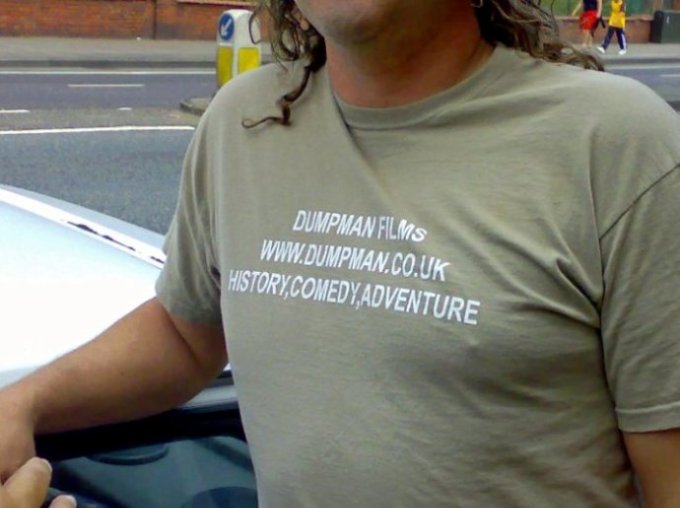
ABOVE: Dumpman isn't the sort of person to pass up a blatent promotional opportunity and we simply couldn't let this one go. Pay us later, mate!
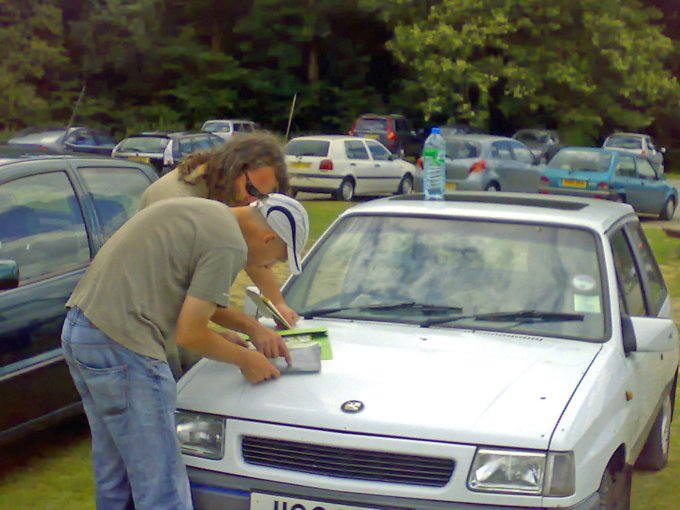
ABOVE: Whilst we waited for our new member TheHallGuy to meet us on-site, we had a quick shufty at one of Dumpman's huge collection of old maps. This particular one showed the full route we were intent on following and there were a good variety of interesting architectural features to find. We all love Dumpman's Vauxhall Nova SR (seen here), something of an icon in motor history.
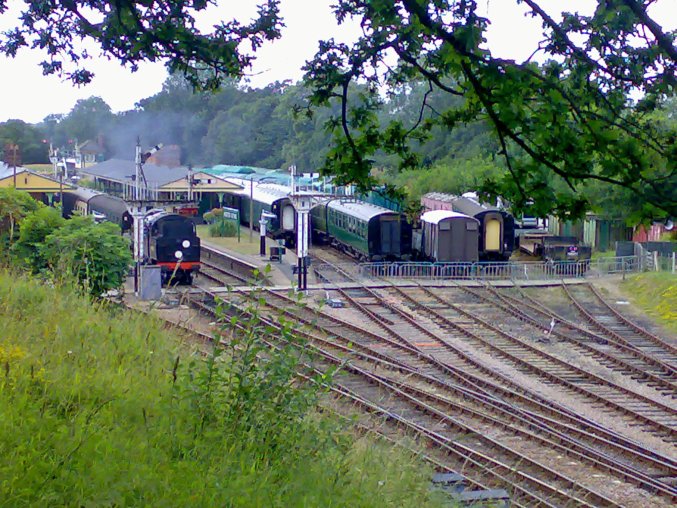
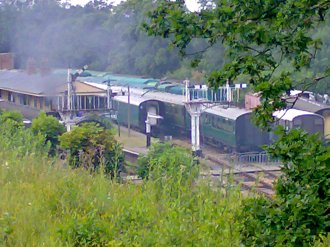
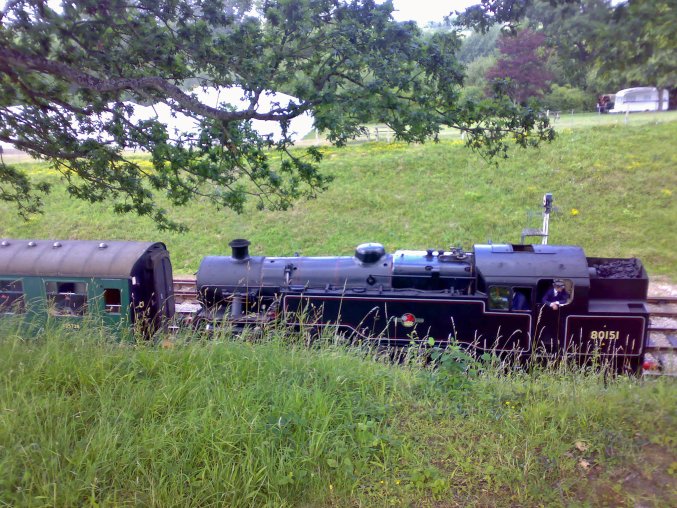
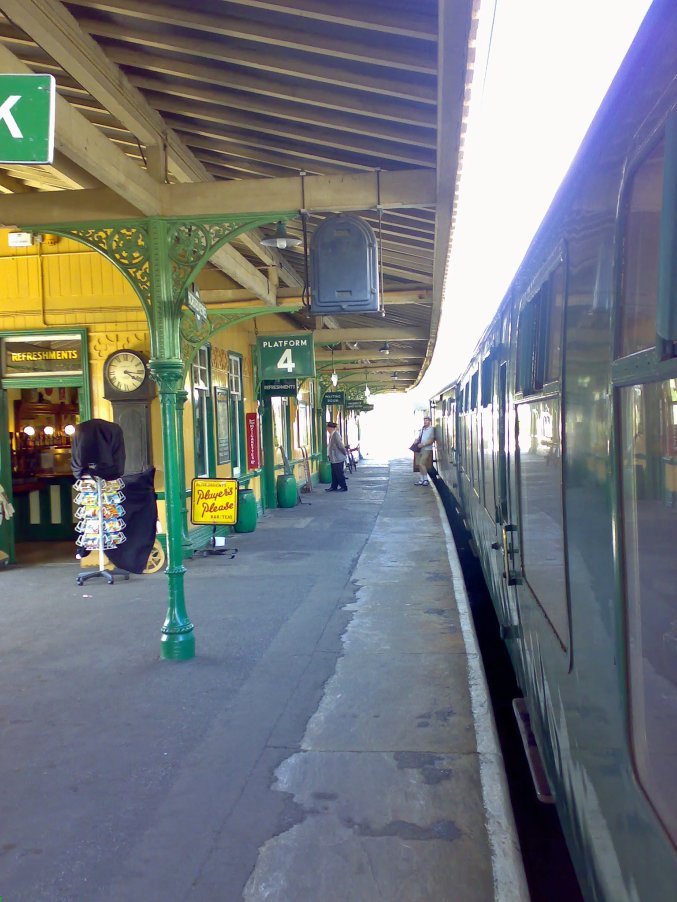
ABOVE & BELOW: We took full advantage of our proximity to the Bluebell Railway as a meeting place. The loco bottom right is a British Rail Class 4 2-6-4 tank.
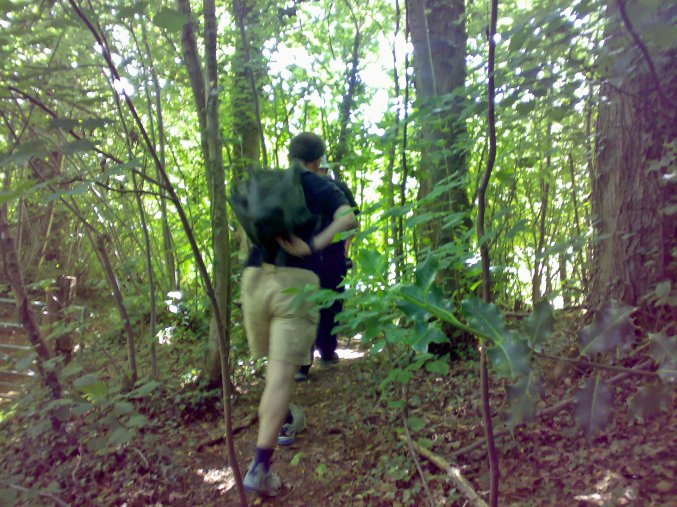
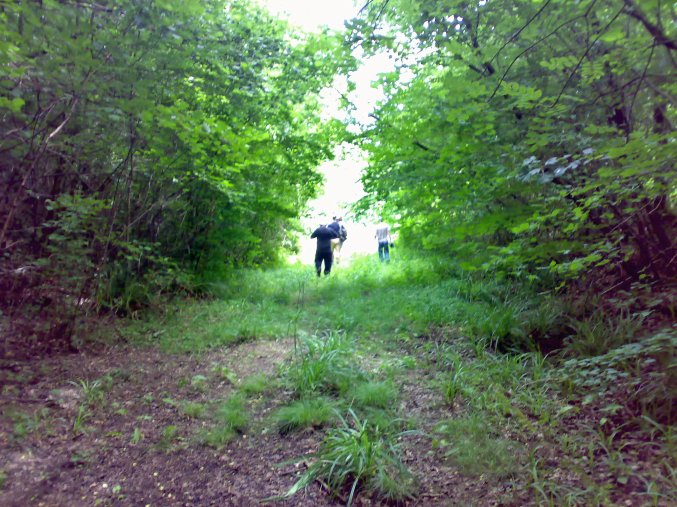
BELOW: After a short journey to our second waypoint, we set off in search of bridges, tunnels and all sorts of other goodies! TheHallGuy seen here in full swing!
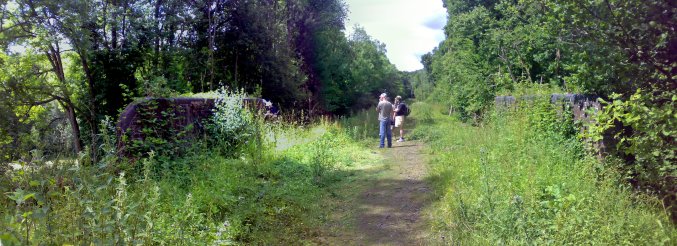
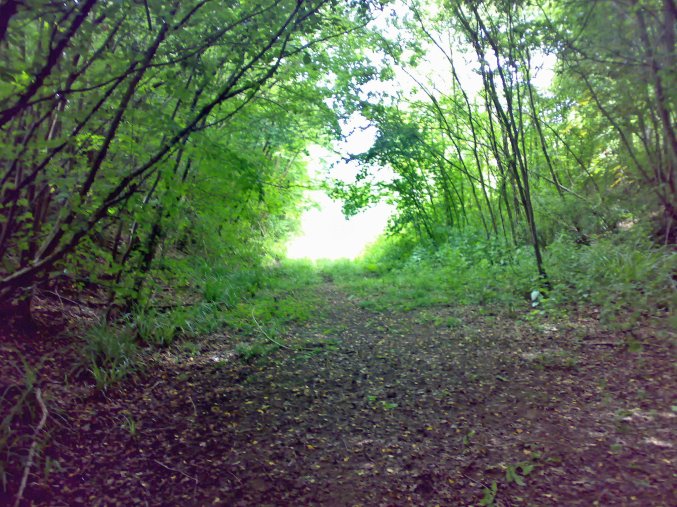
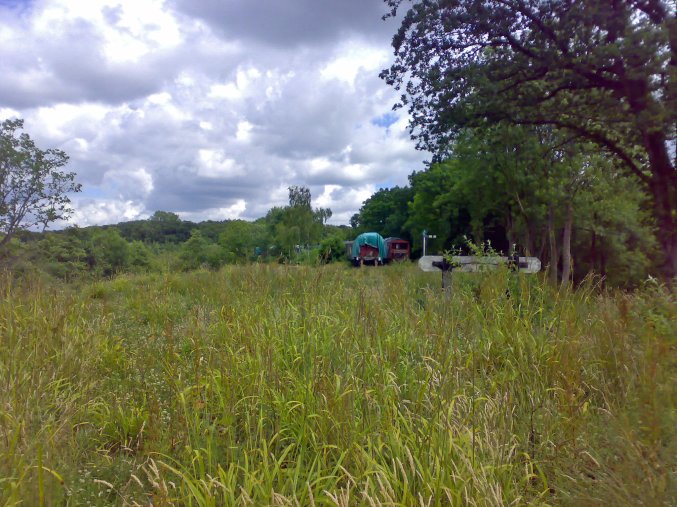
BELOW: This is the trackbed. The actual rails have been gone for about 40 years (?LOR) but the route they took is very clear. The line was dual track along it's entire length.

***************************************************************************
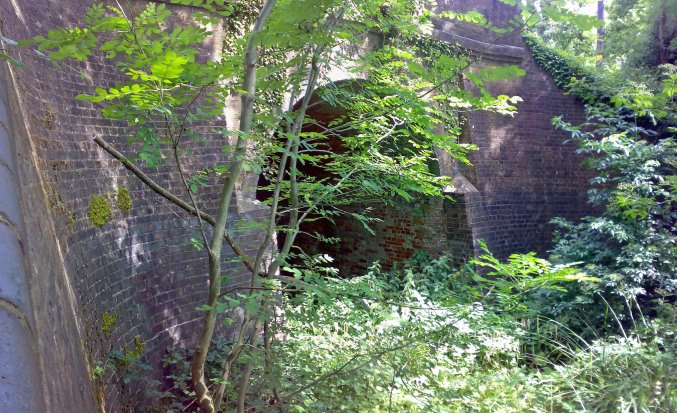
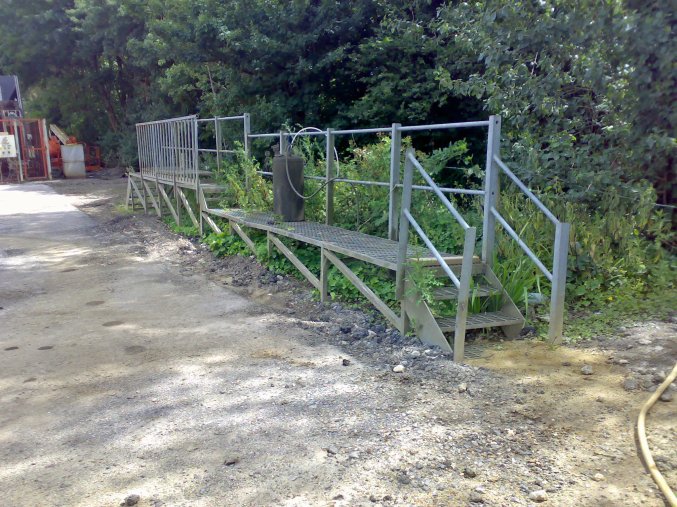
ABOVE & BELOW: It wasn't long before we found our first waypoint: this is an occupational bridge or "cattle creep". It's basically a narrow tunnel just wide enough to herd cattle through, or possibly drive a very small tractor through. The brick parapets and all the abuttments are in pretty good condition.
One of the sloping abuttment walls is seen, albeit heavily overgrown, below.
One of the portals of the bridge is seen in the bottom picture.
***************************************************************************
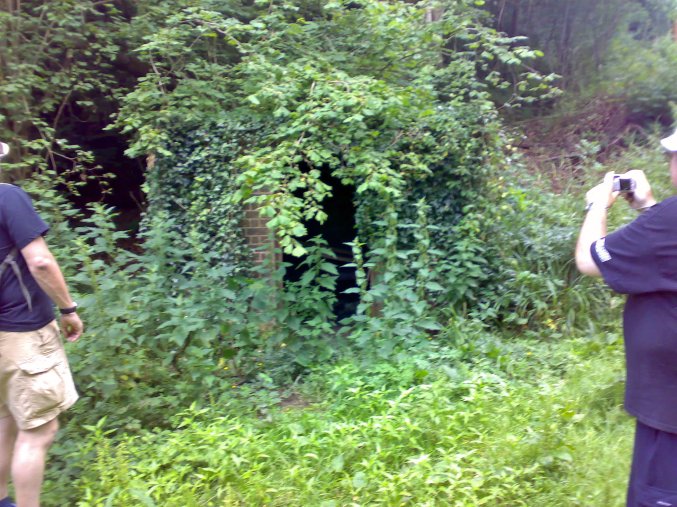
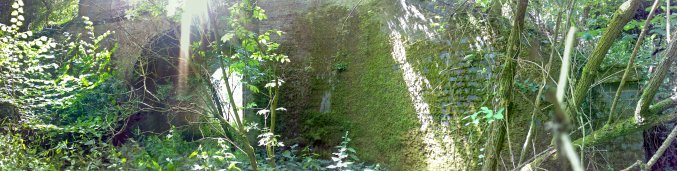
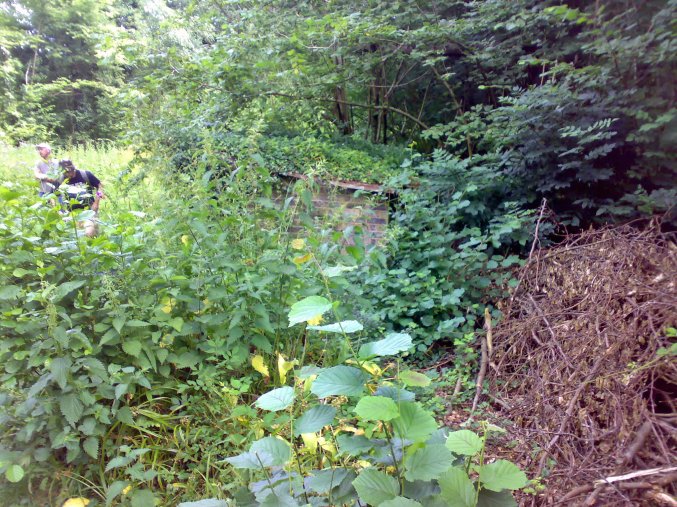
ABOVE & BELOW: Whilst it doesn't look incredibly interesting at first, it's quite unusual to find a brick built hut on a Southern Railways route as most buildings were precast concrete. It's great the way nature has taken it back.
***************************************************************************
A bit further on, we found the Lywood tunnel. If you didn't know the area well, it would be very easy to miss. There is a great deal of water ingress inside the tunnel, but the ballast of the trackbed is totally intact and whilst there are a few large puddles inside, the drainage is pretty good.
BELOW: Some bits of the tunnel are a bit boggy and I was a little weary about where I stood or knealt to take photos. I think if I stood around in some places too long, I may have left my boots there!

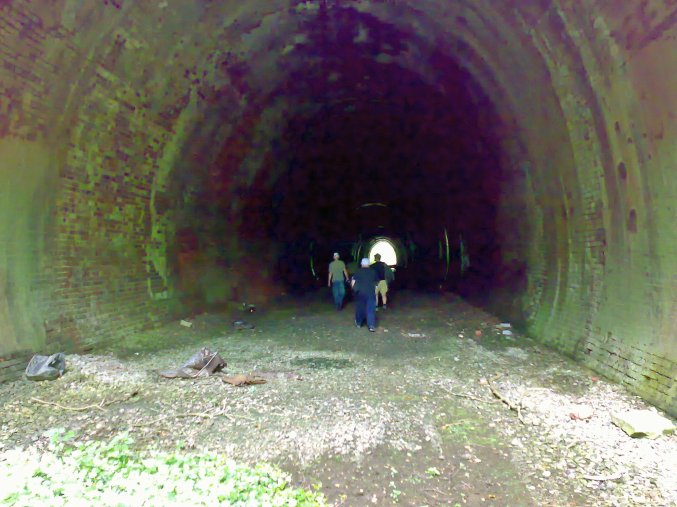
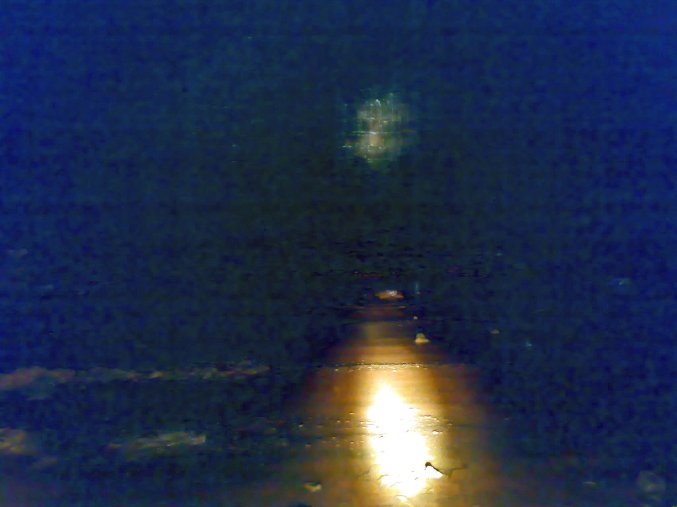
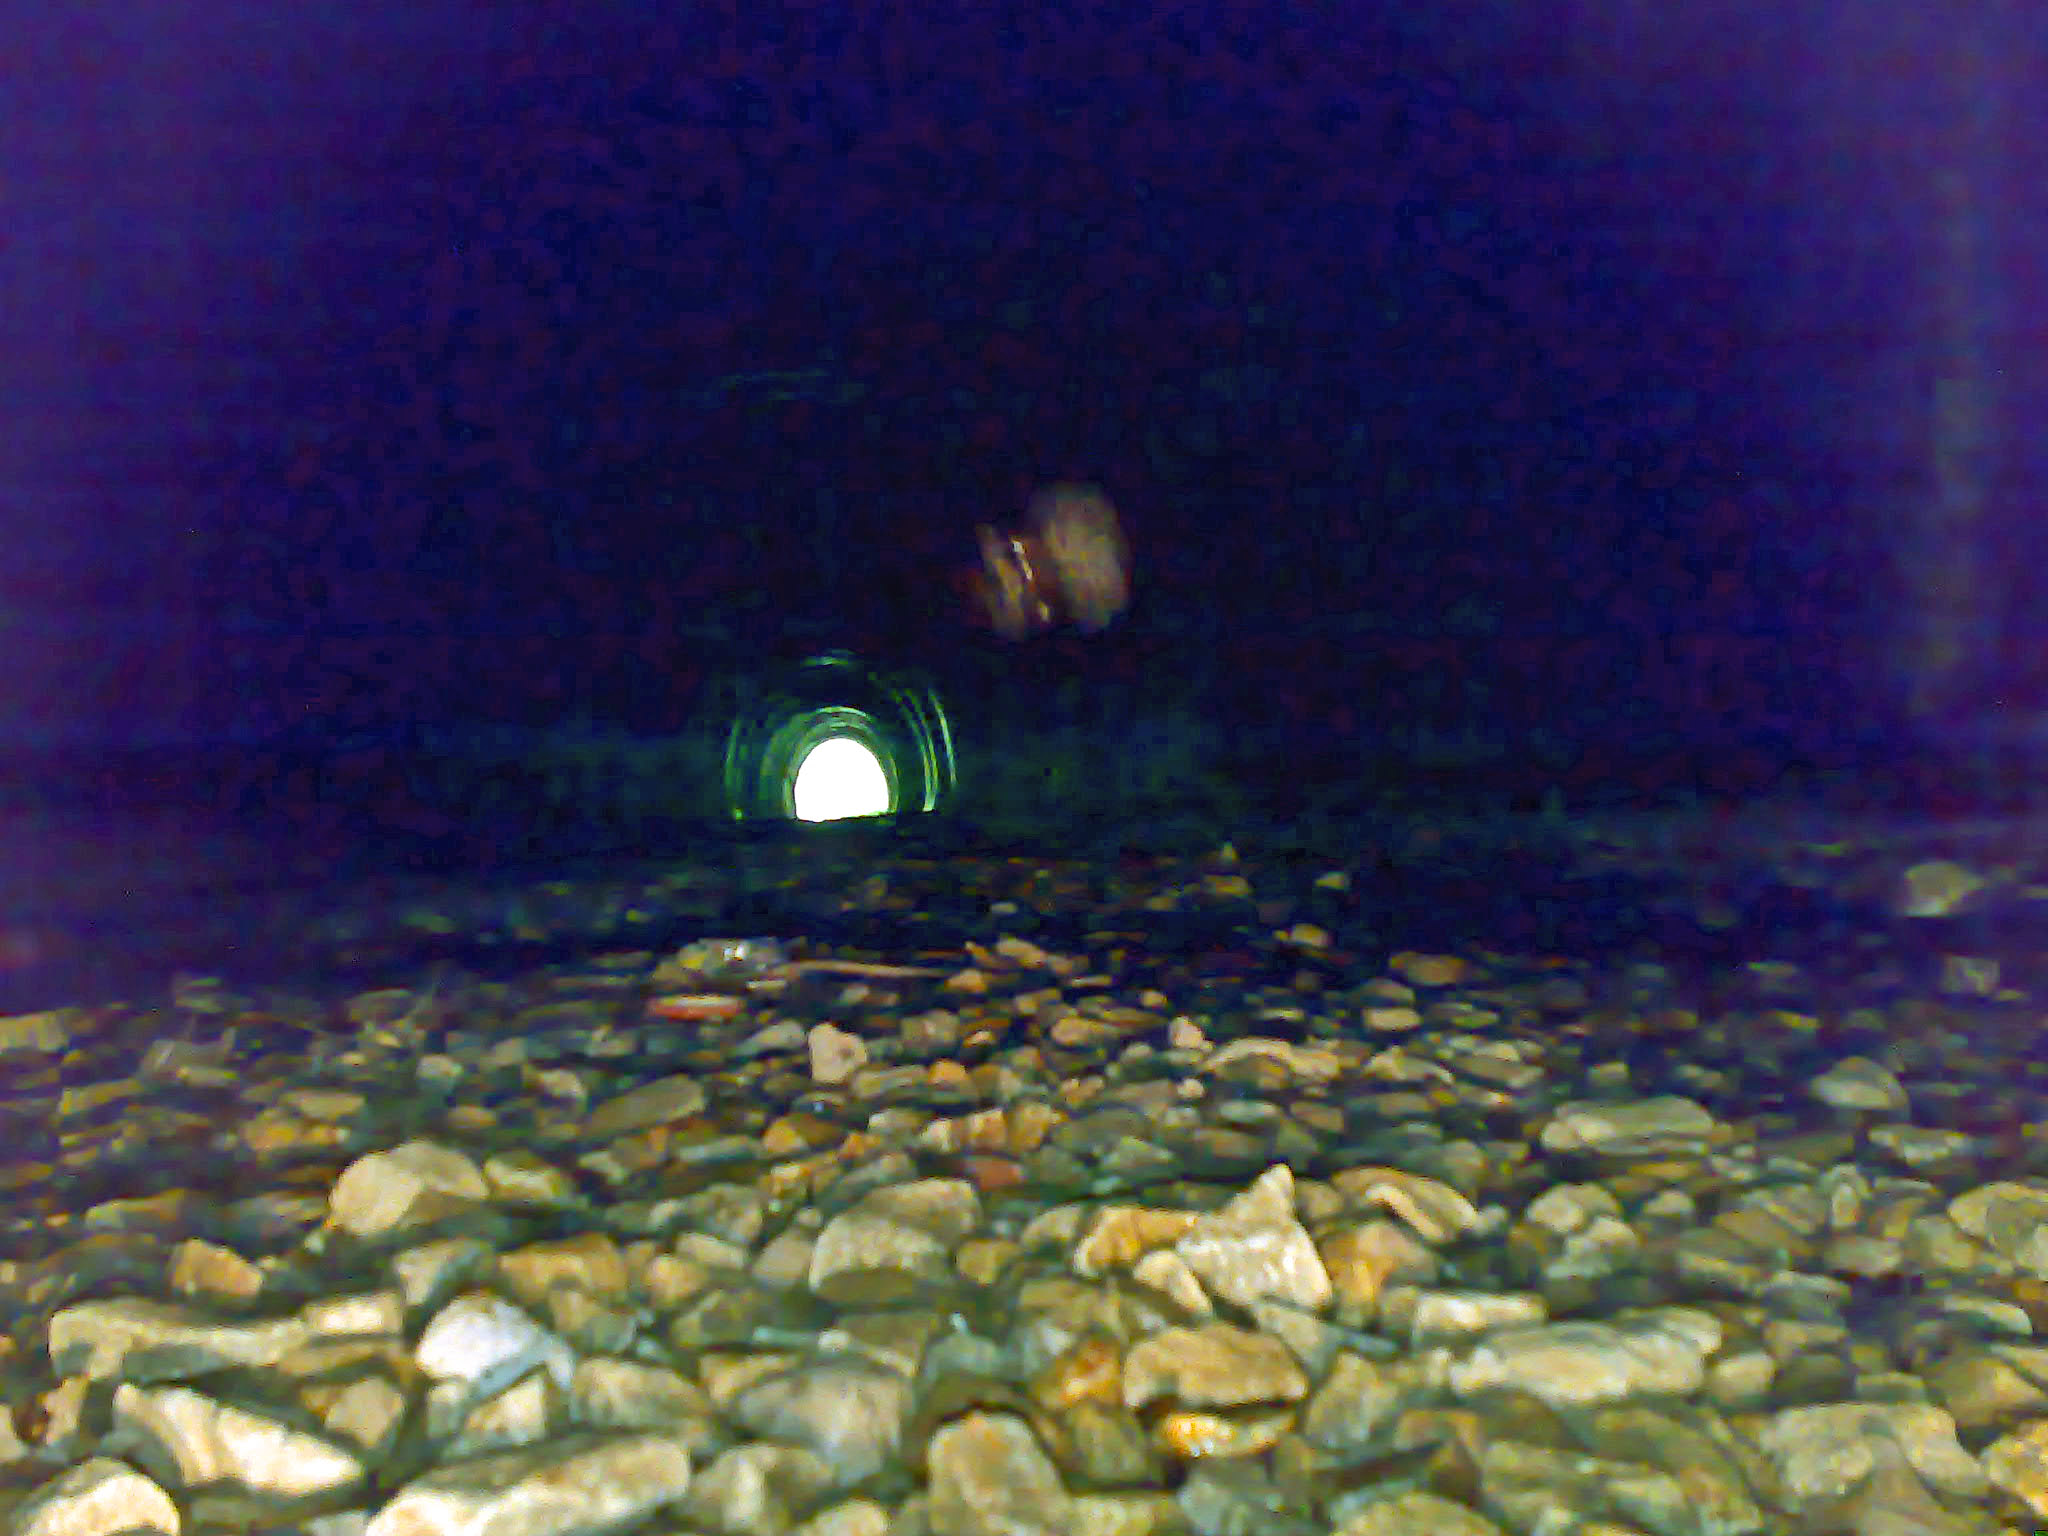
BELOW: The tunnel isn't incredibly long and you can easily see the far portal, but once you're in there, very little ambient light is present and there are some very large puddles and quite a lot of water ingress. There are also some open drainage points which (unless you have a large torch) aren't easily seen until you fall down them.
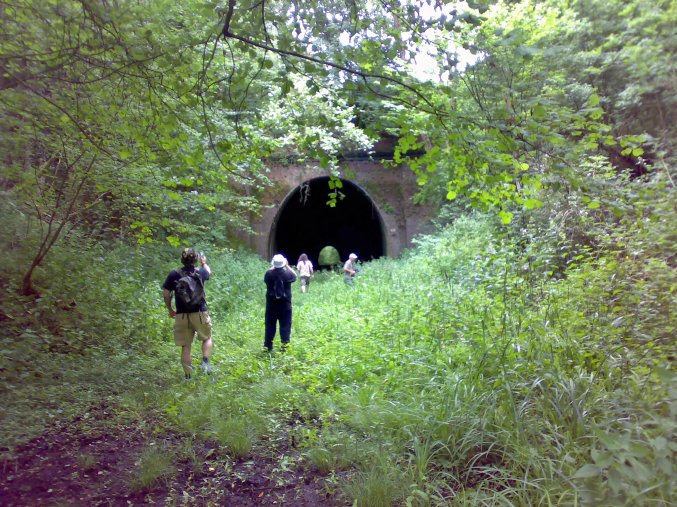
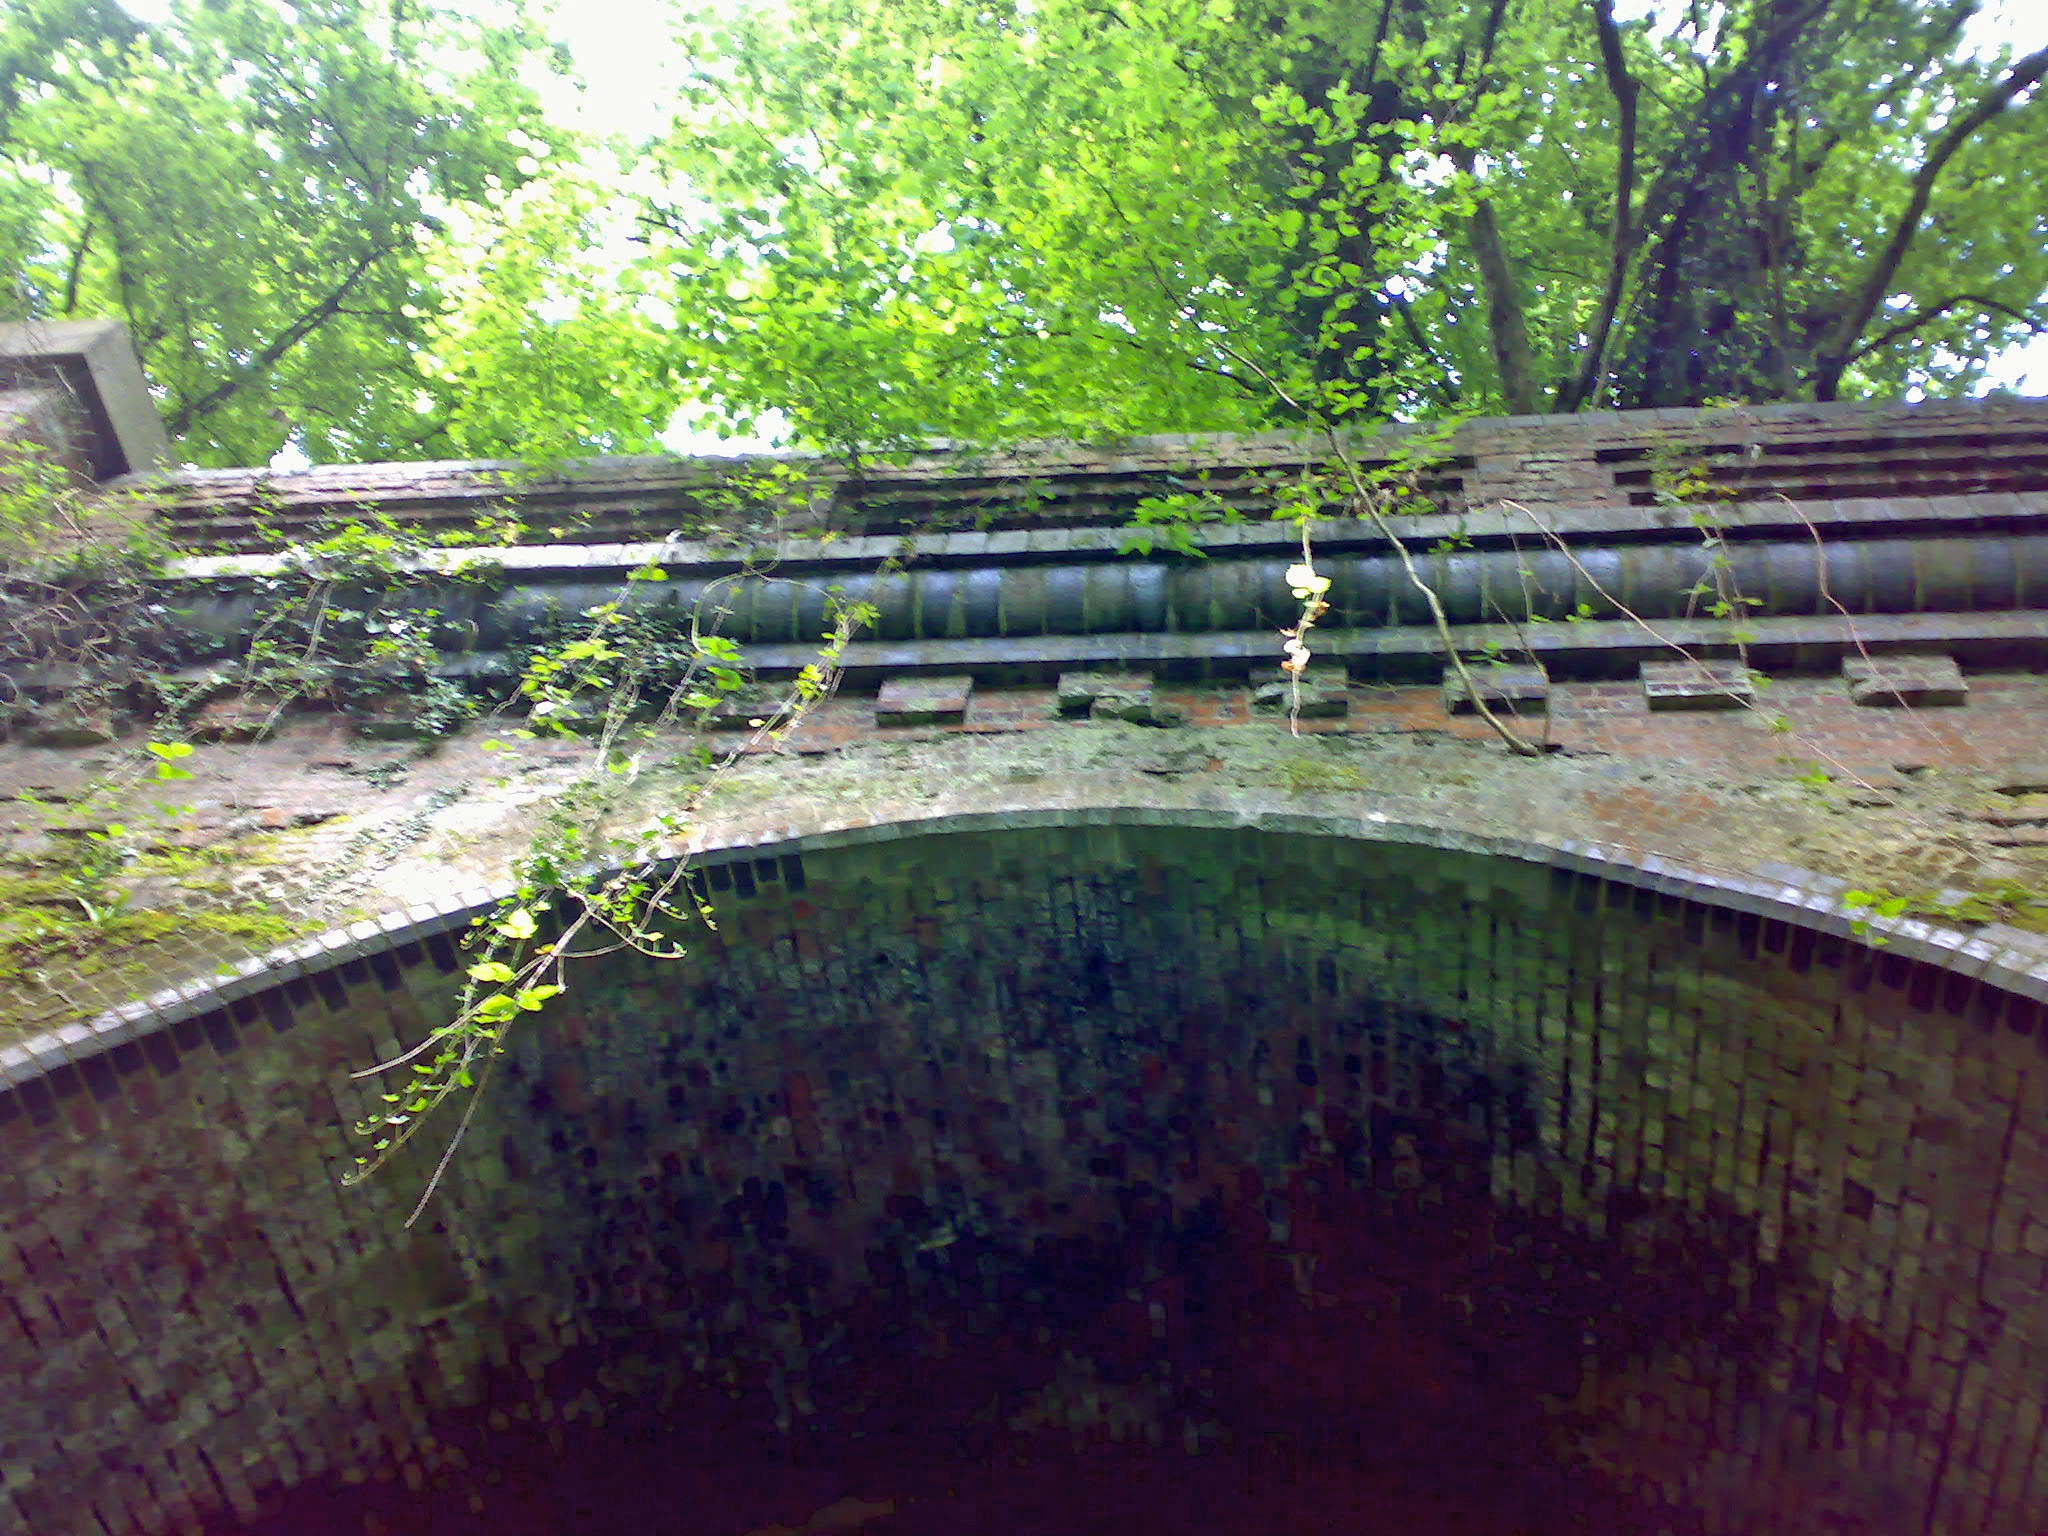
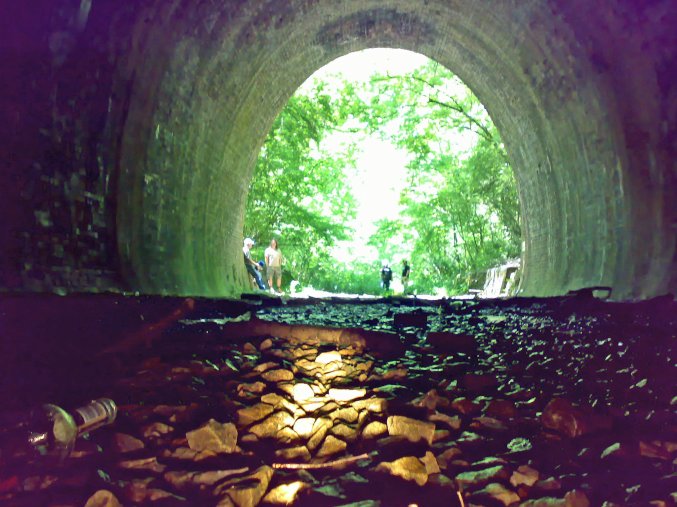
BELOW: The tunnel portals and the majority of the tunnel lining are in surprisingly good condition, given the damp interior and are a lot less overgrown than I expected.
BELOW: Here we go, then...
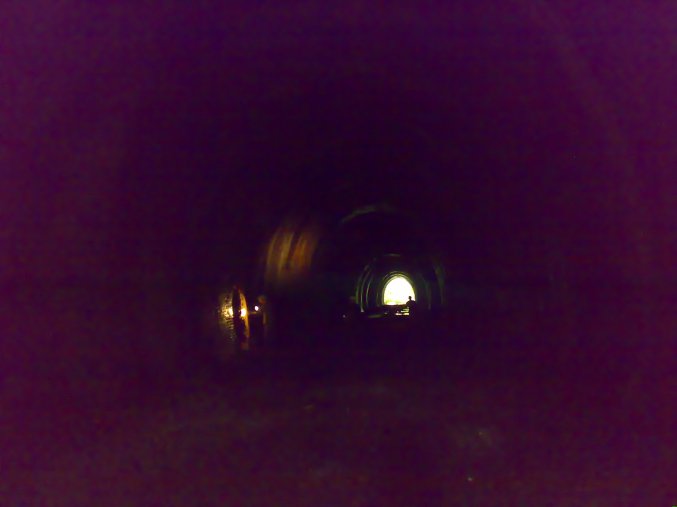
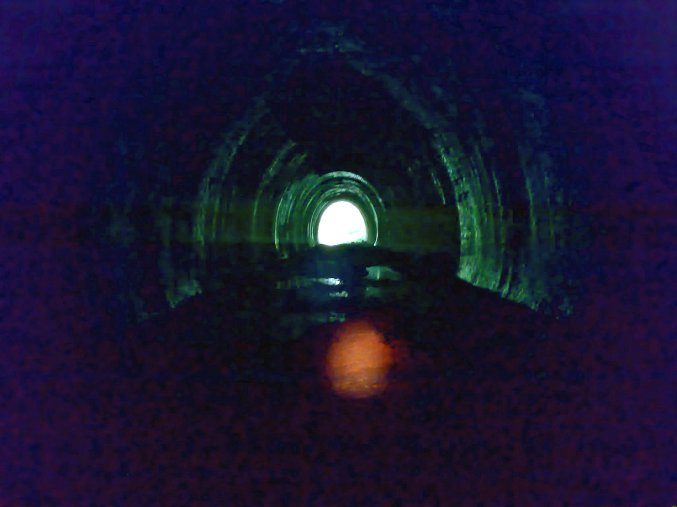
BELOW: The tunnel doesn't look very dark when you look into it from either end, but it is very dark in there! Between 5 of us, we had around 3 to 4 million Candle power and it wasn't anywhere near enough! Tunnels eat light for breakfast! I really don't know how we would have illuminated large areas of brickwork for swanky photography: possibly arc lamps or a small nuclear reactor?
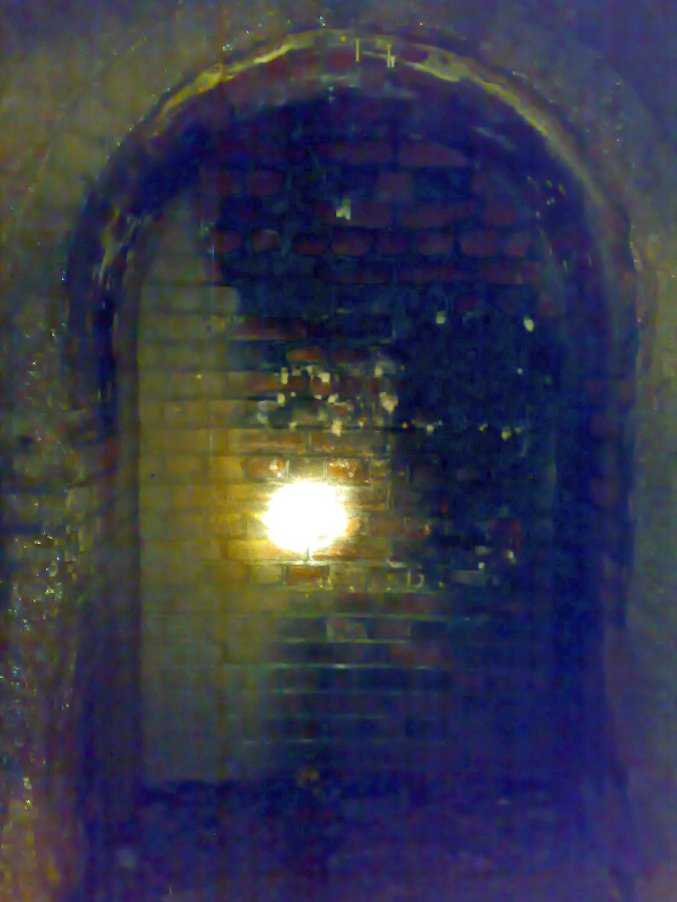
BELOW: one of the alcoves for railway workers to stand in to avoid getting squashed by trains. they were all near enough identical except one which had slightly more recent looking brickwork and cement render applied to the side walls. I had been told perviously that there was a small side tunnel off one of these alcoves to facilitate the construction of adequate drainage and the patch of new brickwork appears to confirm this.
BELOW: There were a lot of large puddles lurking in there and a lot of drips and drops coming from the roof of the tunnel. It would have been quite unnerving without my spotlamp.
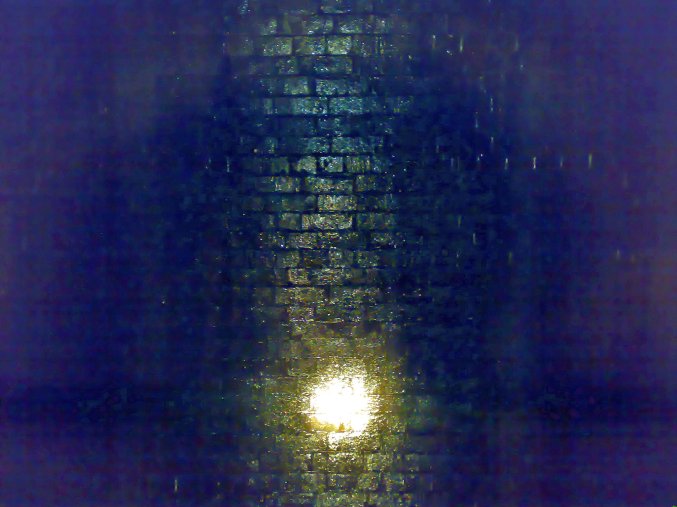
BELOW: The brickwork is in fabulous condition despite the amount of water ingress.
ABOVE & BELOW: The tunnel is still fully ballasted throughout.
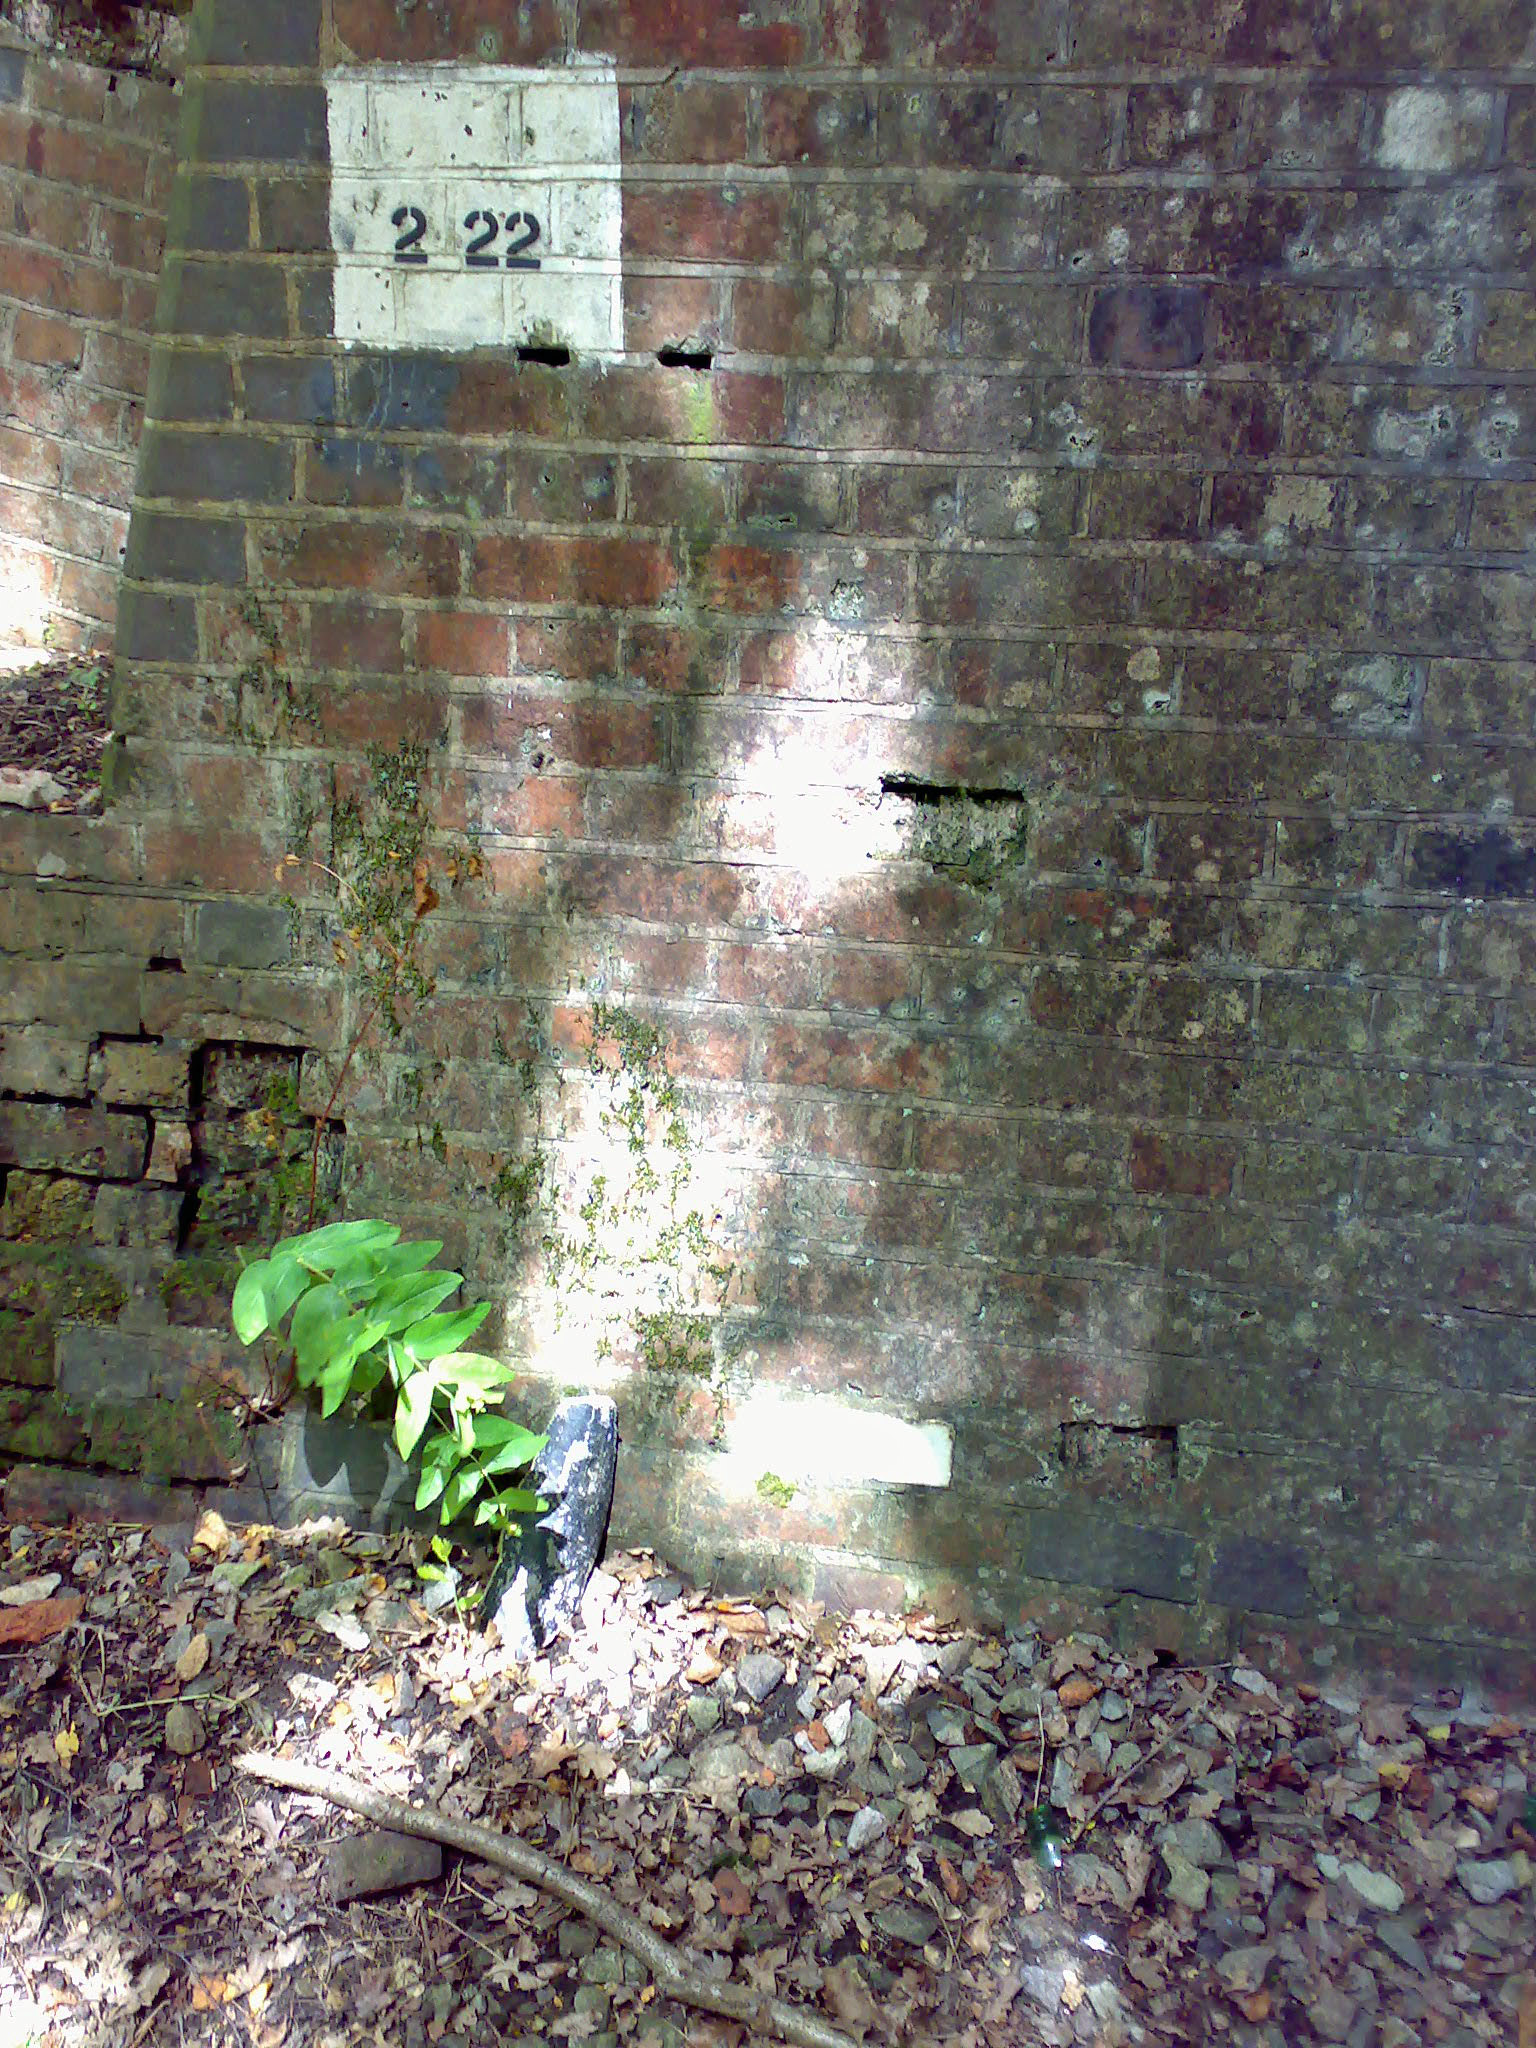
BELOW: None of the team are quite sure what the white bricks are for (there is a corresponding one in an identical position of the opposite side of the arch). We are guessing that this was for measurement.
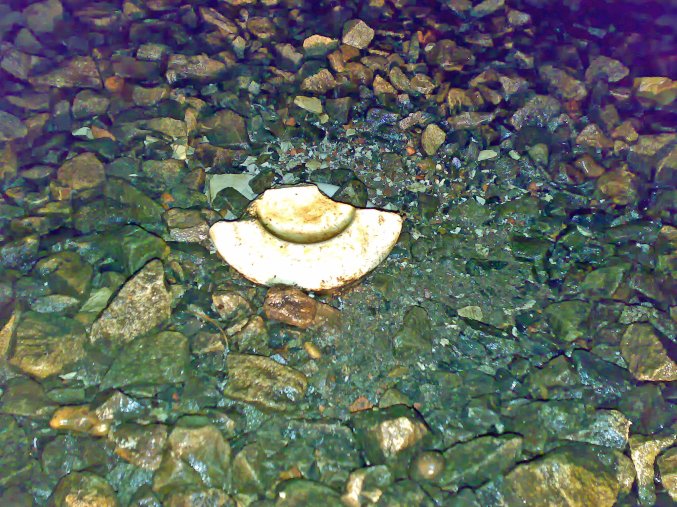
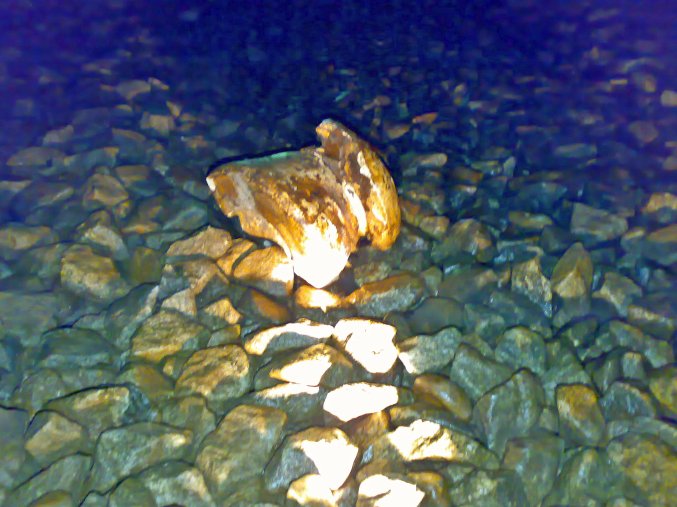
BELOW: There were a few little artefacts from the tunnel's working days: a few of the insulating chairs for the live rail are strewn along the tunnel's length.
***************************************************************************
After a good stomp around in the tunnel, we went on to find our next waypoint, which would originally have been a viaduct over a small valley. However, there was very little to suggest that there had ever been a viaduct on first impressions. However, once we got a little closer and began to look a little more carefully and dug a little deeper....things started to appear and slowly it all made sense!
So, we walked along the trackbed beyond the tunnel....
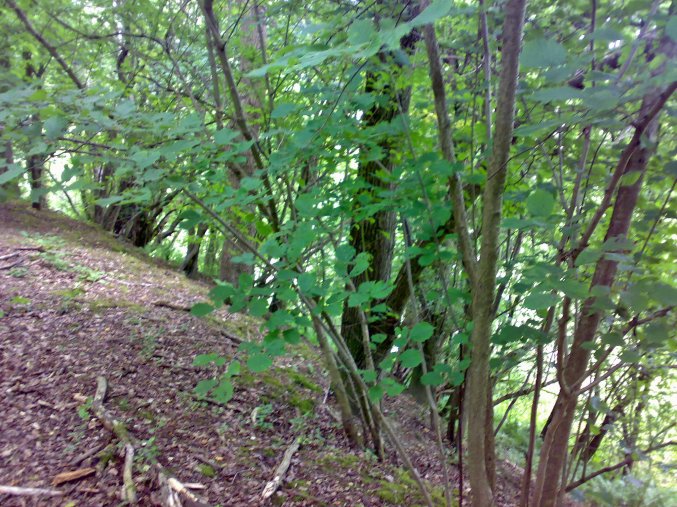
.....and as we progressed, the ground at either side of the embankment started to drop away....
.....and it was getting to be quite a long way down.....until.....
.....we came to a dead end and a steep drop to the valley!
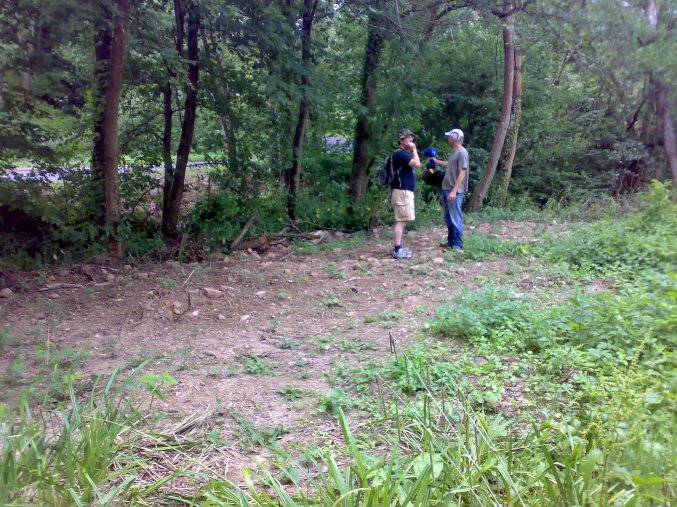
BELOW: Agents Holmbush, Dumpman and TheHallGuy at the top of the abuttment on one side of the valley. At this point we were wondering what had happened to the footings for the arches, which had been demolished as they were not sound enough to be resurrected by the Bluebell Railway as an extension to the line. At this point, no one could see the other side of the viaduct to gauge how wide the valley was.

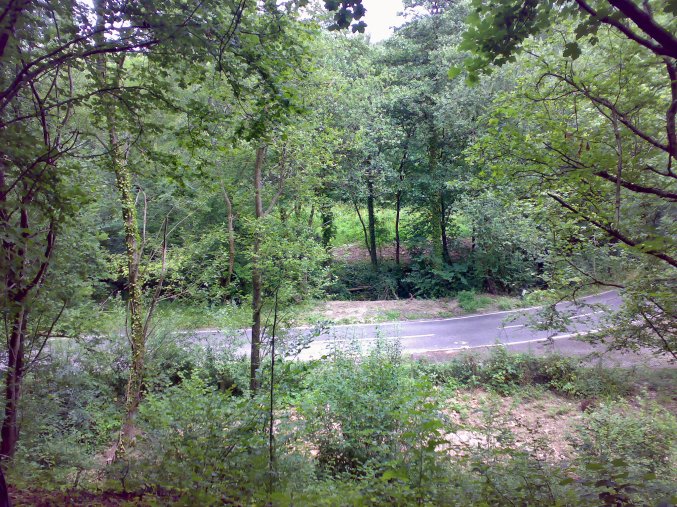
BELOW: "Viaduct? What bloody viaduct?" Does anyone else see the 2 suspicious looking areas of rubble, one on either side of the road? they certainly warranted a bit of closer inspection.
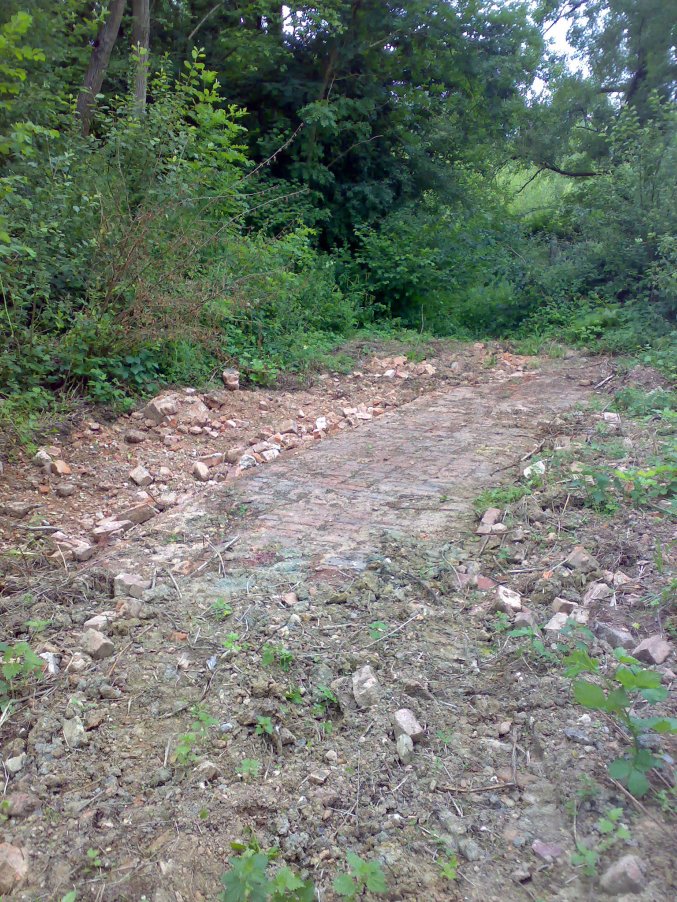
BELOW: Irrefutable evidence that one of the patches was the footing of a support for one of the brick spans of a viaduct - it would have risen up from the area of flat brickwork. There were (as far as we could make out from Dumpman's aerial photo of this area) either 4 or 5 arches comprising this viaduct.
BELOW: With the help of expert navigation from Agent Holmbush and Dumpman, we set about finding the footings of the other arches.
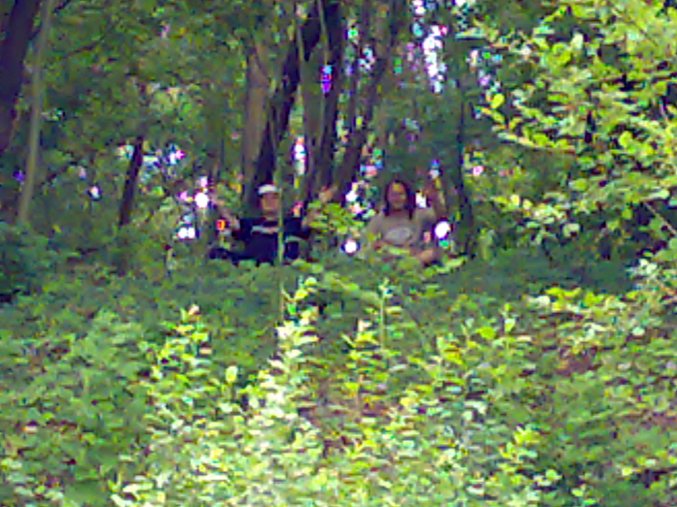
BELOW: Agents Skyframe and TheHallGuy find the other area of brickwork and yes, it is the other side of the arch. Having established that, Skyframe gets bored and attaches TheHallGuy's fist to his nose with an electric screwdriver (no, seriously, they're just chatting about Skyframe's spotlamp!)
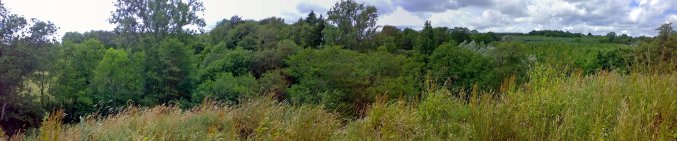
BELOW: We eventually found the opposite embankment of the viaduct and climbed up it for a view in the opposite direction. Again, it is nigh on impossible to discern where the embankment on the other side is! It is in fact roughly a third of the way across this photo, looking from left to right. The only way we found it was to look for a little gap in the trees with Agent Holmbush waving at us.
BELOW: This is the view from the top of the embankment looking in the other direction and is where the Bluebell Railway currently terminates. It would be fantastic if they could span the valley and continue along the embankment towards the tunnel.
***************************************************************************
And so we departed from the remains of the viaduct in order to find our last waypoint, which is the site of Ardingly Station. Dumpman had told us previously that there was precious little left except for the original station platform and the station house, as the site is now largely given over to an aggregates company.
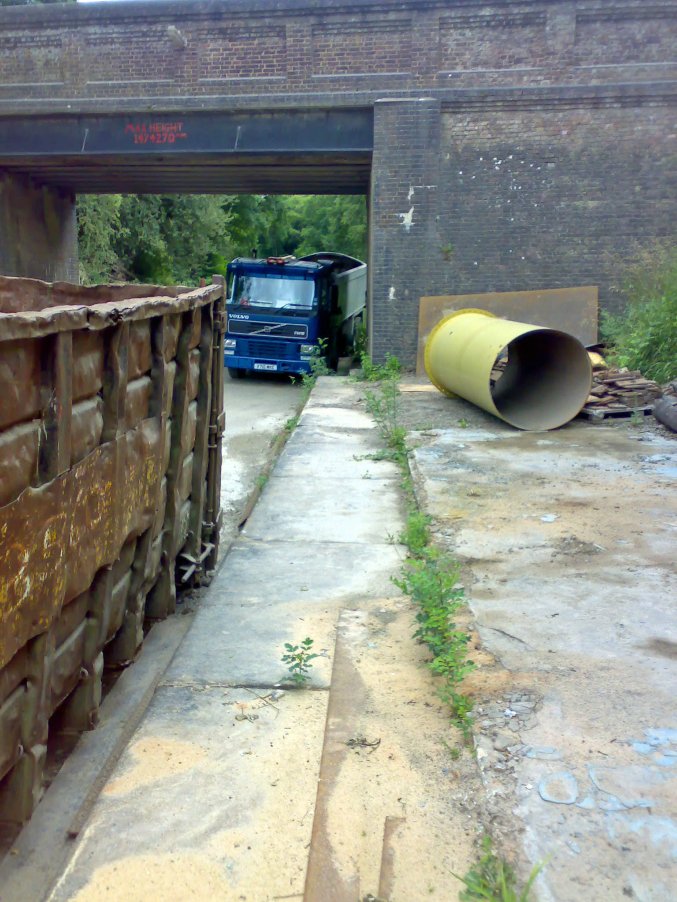
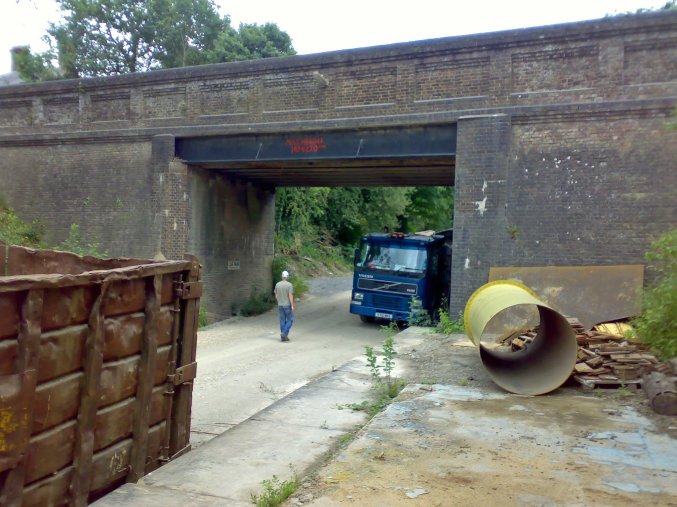
After a short drive from the viaduct, we pulled over at the side of the road, outside the station onto a small paved area just to one side of a road bridge over what appeared to be another low level road. However, there was more to it than met the eye.
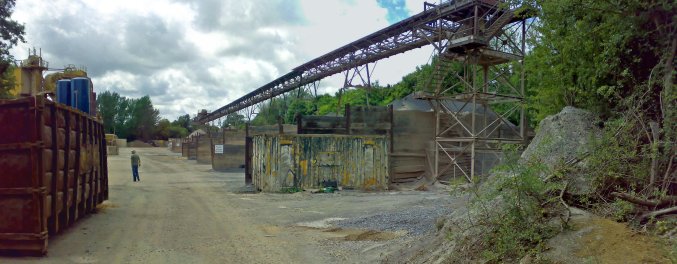
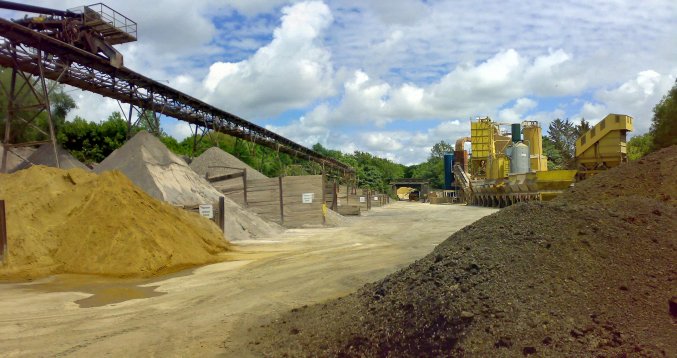
ABOVE: We could see interesting little features from the road bridge, but Ghost and Skyframe couldn't resist a better look! The large overhead conveyor belt and stathes are very impressive.
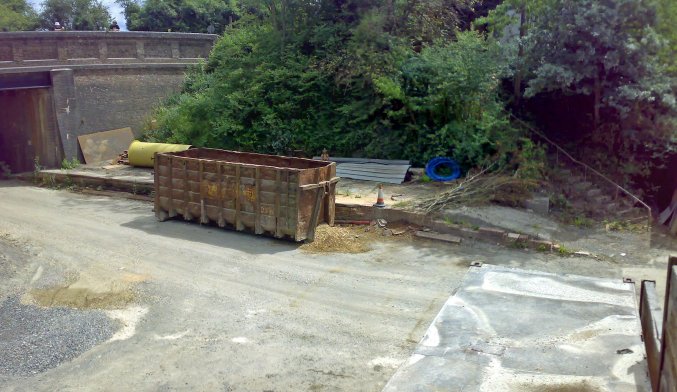
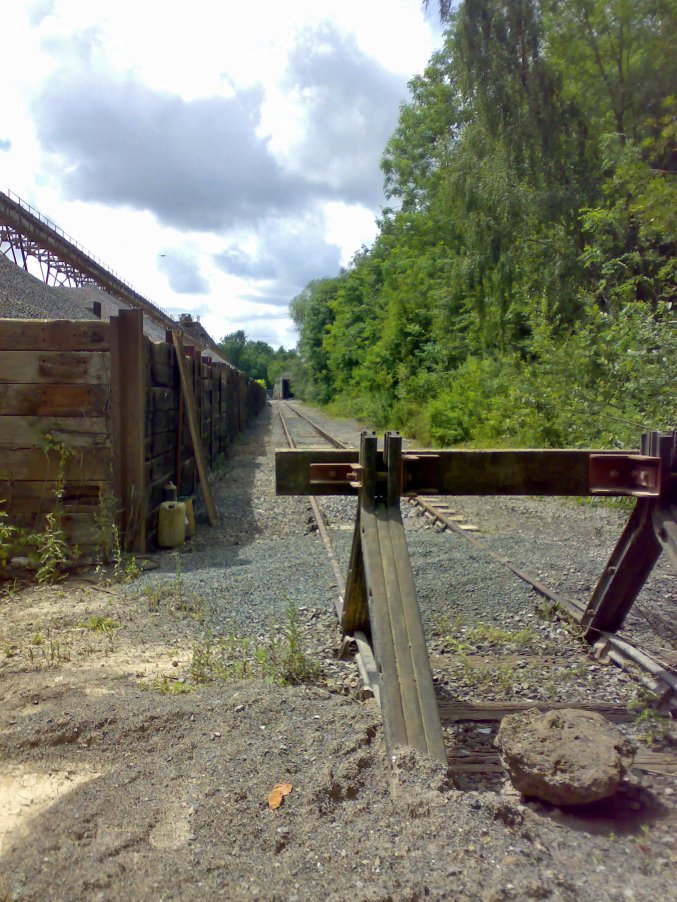
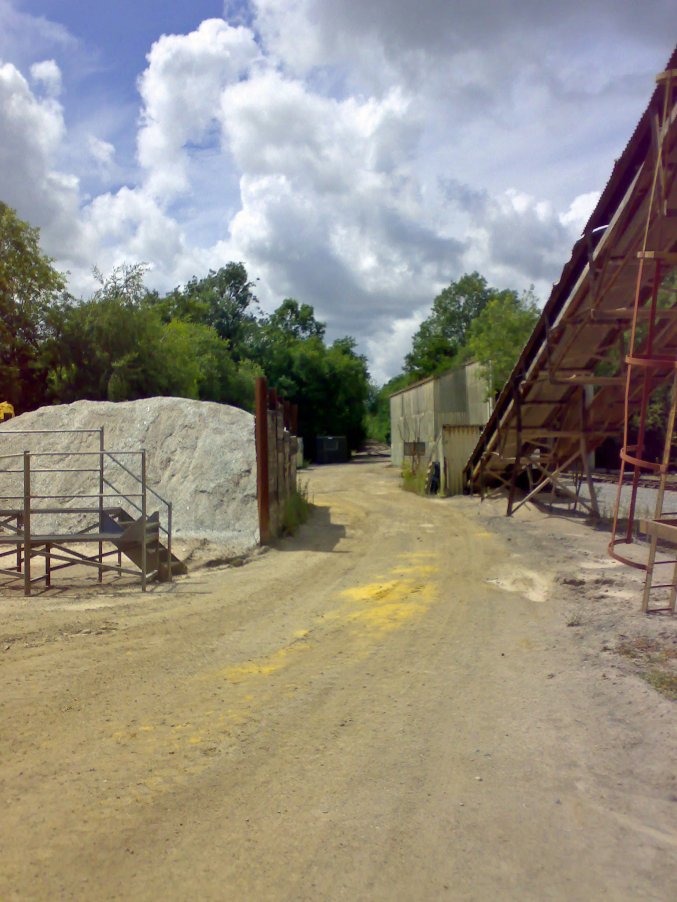
Dumpman had pointed out the short stretch of the remaining platform from up on the road bridge: it is just behind the container in this picture and seen in all it's glory BELOW.
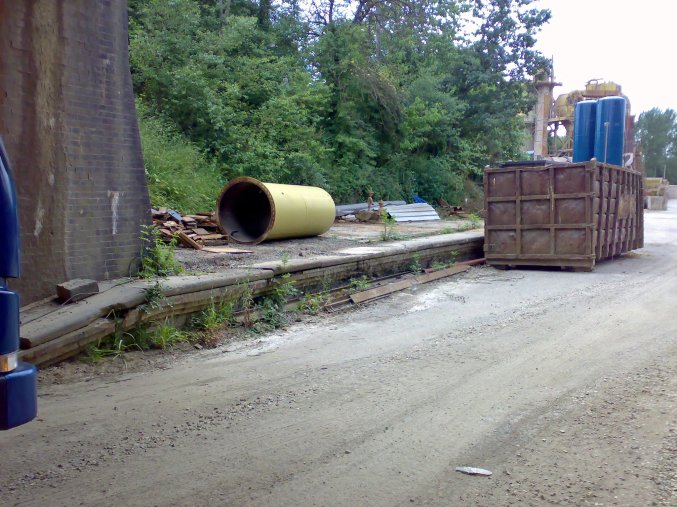
BELOW 1 & 2: This is the view looking along the platform back towards the road bridge.
BELOW: We think this siding is original as the sleepers are wooden and are well weathered, starting to break up in places. This is in the opposite direction to the road bridge.
BELOW: This is the view from the far end of the stathes seen in the photo above. The asbestos clad building is a dampening plant, used for reducing the amount of dust that comes off the materials used in the site.
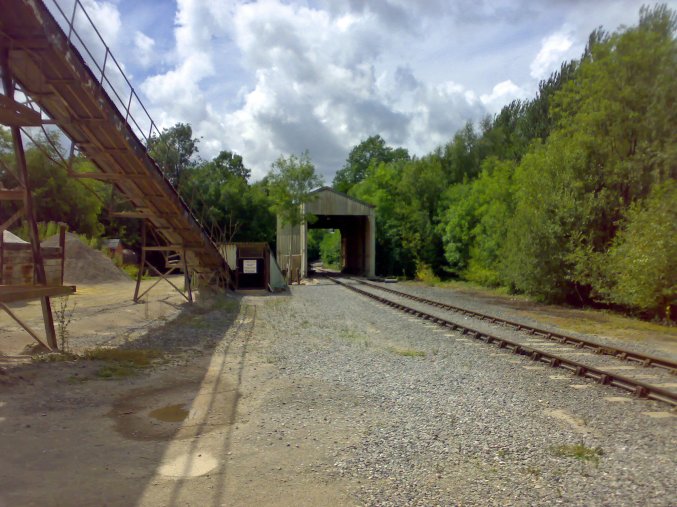
BELOW: This is the view from the same position as the photo ABOVE but looking in the other direction back towards the road bridge, which can just about be seen right in the centre of the photo.
BELOW: This is where things could have got a little hairy! There was Ghost, casually walking along to the sound of merrily crunching ballast and happily photographing things, when in the distance he espies what appears to be a site operative or security guard having a quick smoke just beyond the green cabin. So Ghost took his shoes off and carefully hopping from sleeper to sleeper on the way back to the road bridge, hid behind the stathes until the coast was clear and had it away on his toes!!
However, he just had to nip across and photograph this on the way back and gladly didn't get spotted whilst doing so...
***************************************************************************
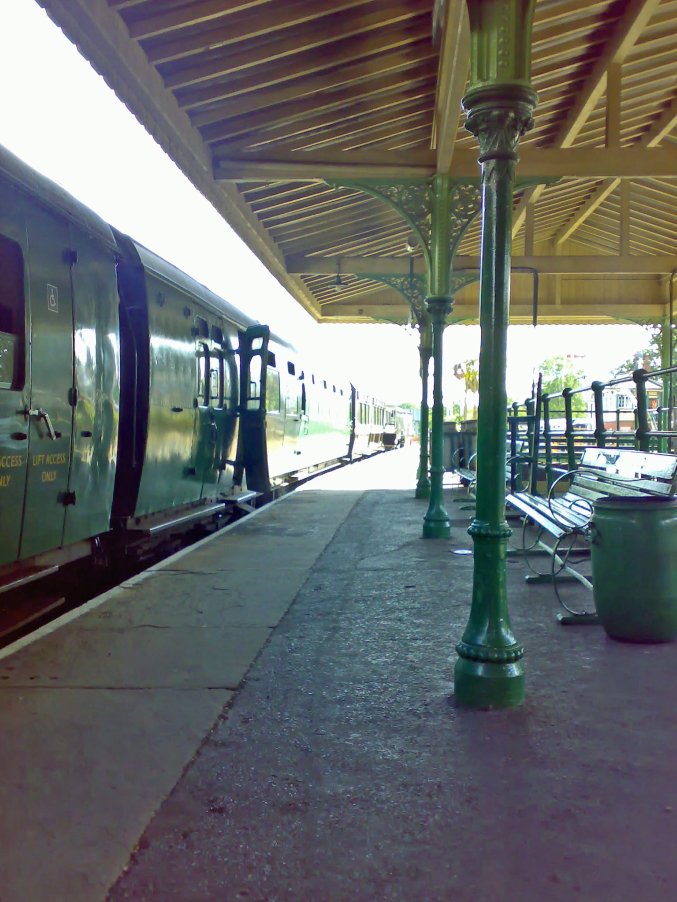
Of course, we had to round the day off in true Ghost-Trains style so decamped back to Horsted Keynes station for a pint and a sausage roll. Luvverly!! It was quite possibly the ultimate place to have a quiet pint, surrounded by steam engines and nostalgia. Who could possibly ask for more?
------======******======------
***************************************************************************